


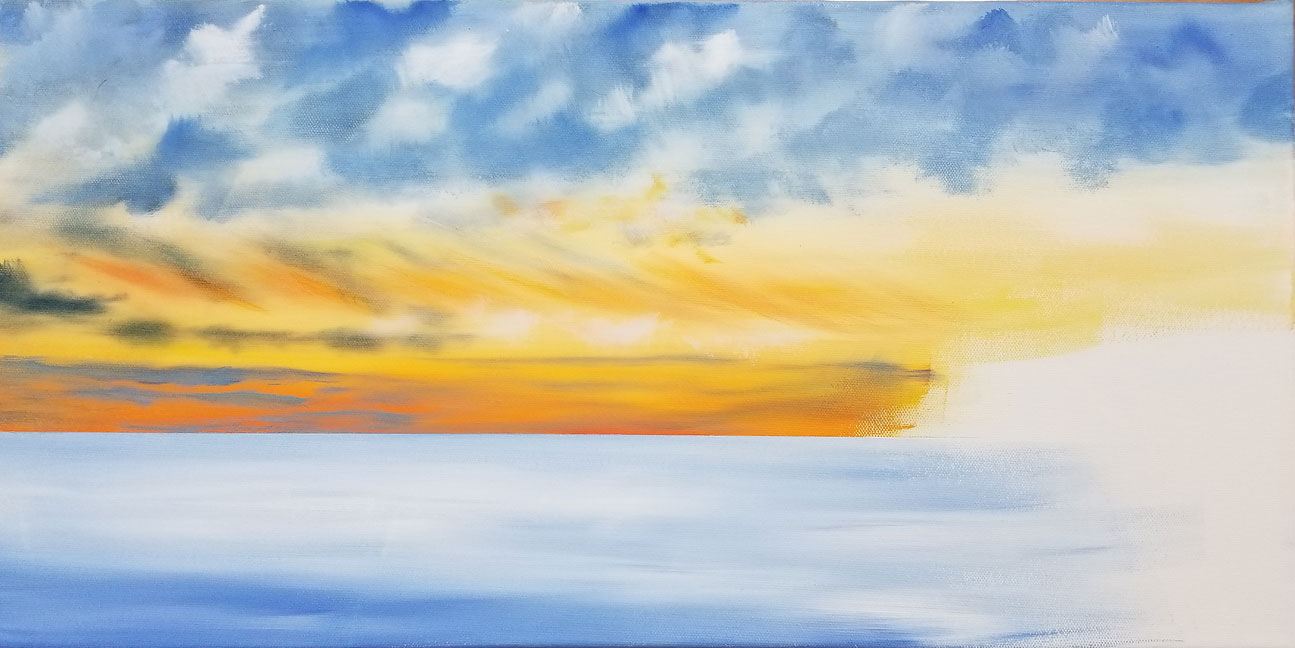
Beginning the sky
Sky step 2
What next? Right away I knew that the sky wasn’t working. Did I start all over again? or make it work?
So I began to “unpaint”. Now my students are wondering how I unpaint. I’ve never been fond of starting all over again so I’ve taught myself how to use what I already had done. After all it wasn’t a disaster, just needed correcting.
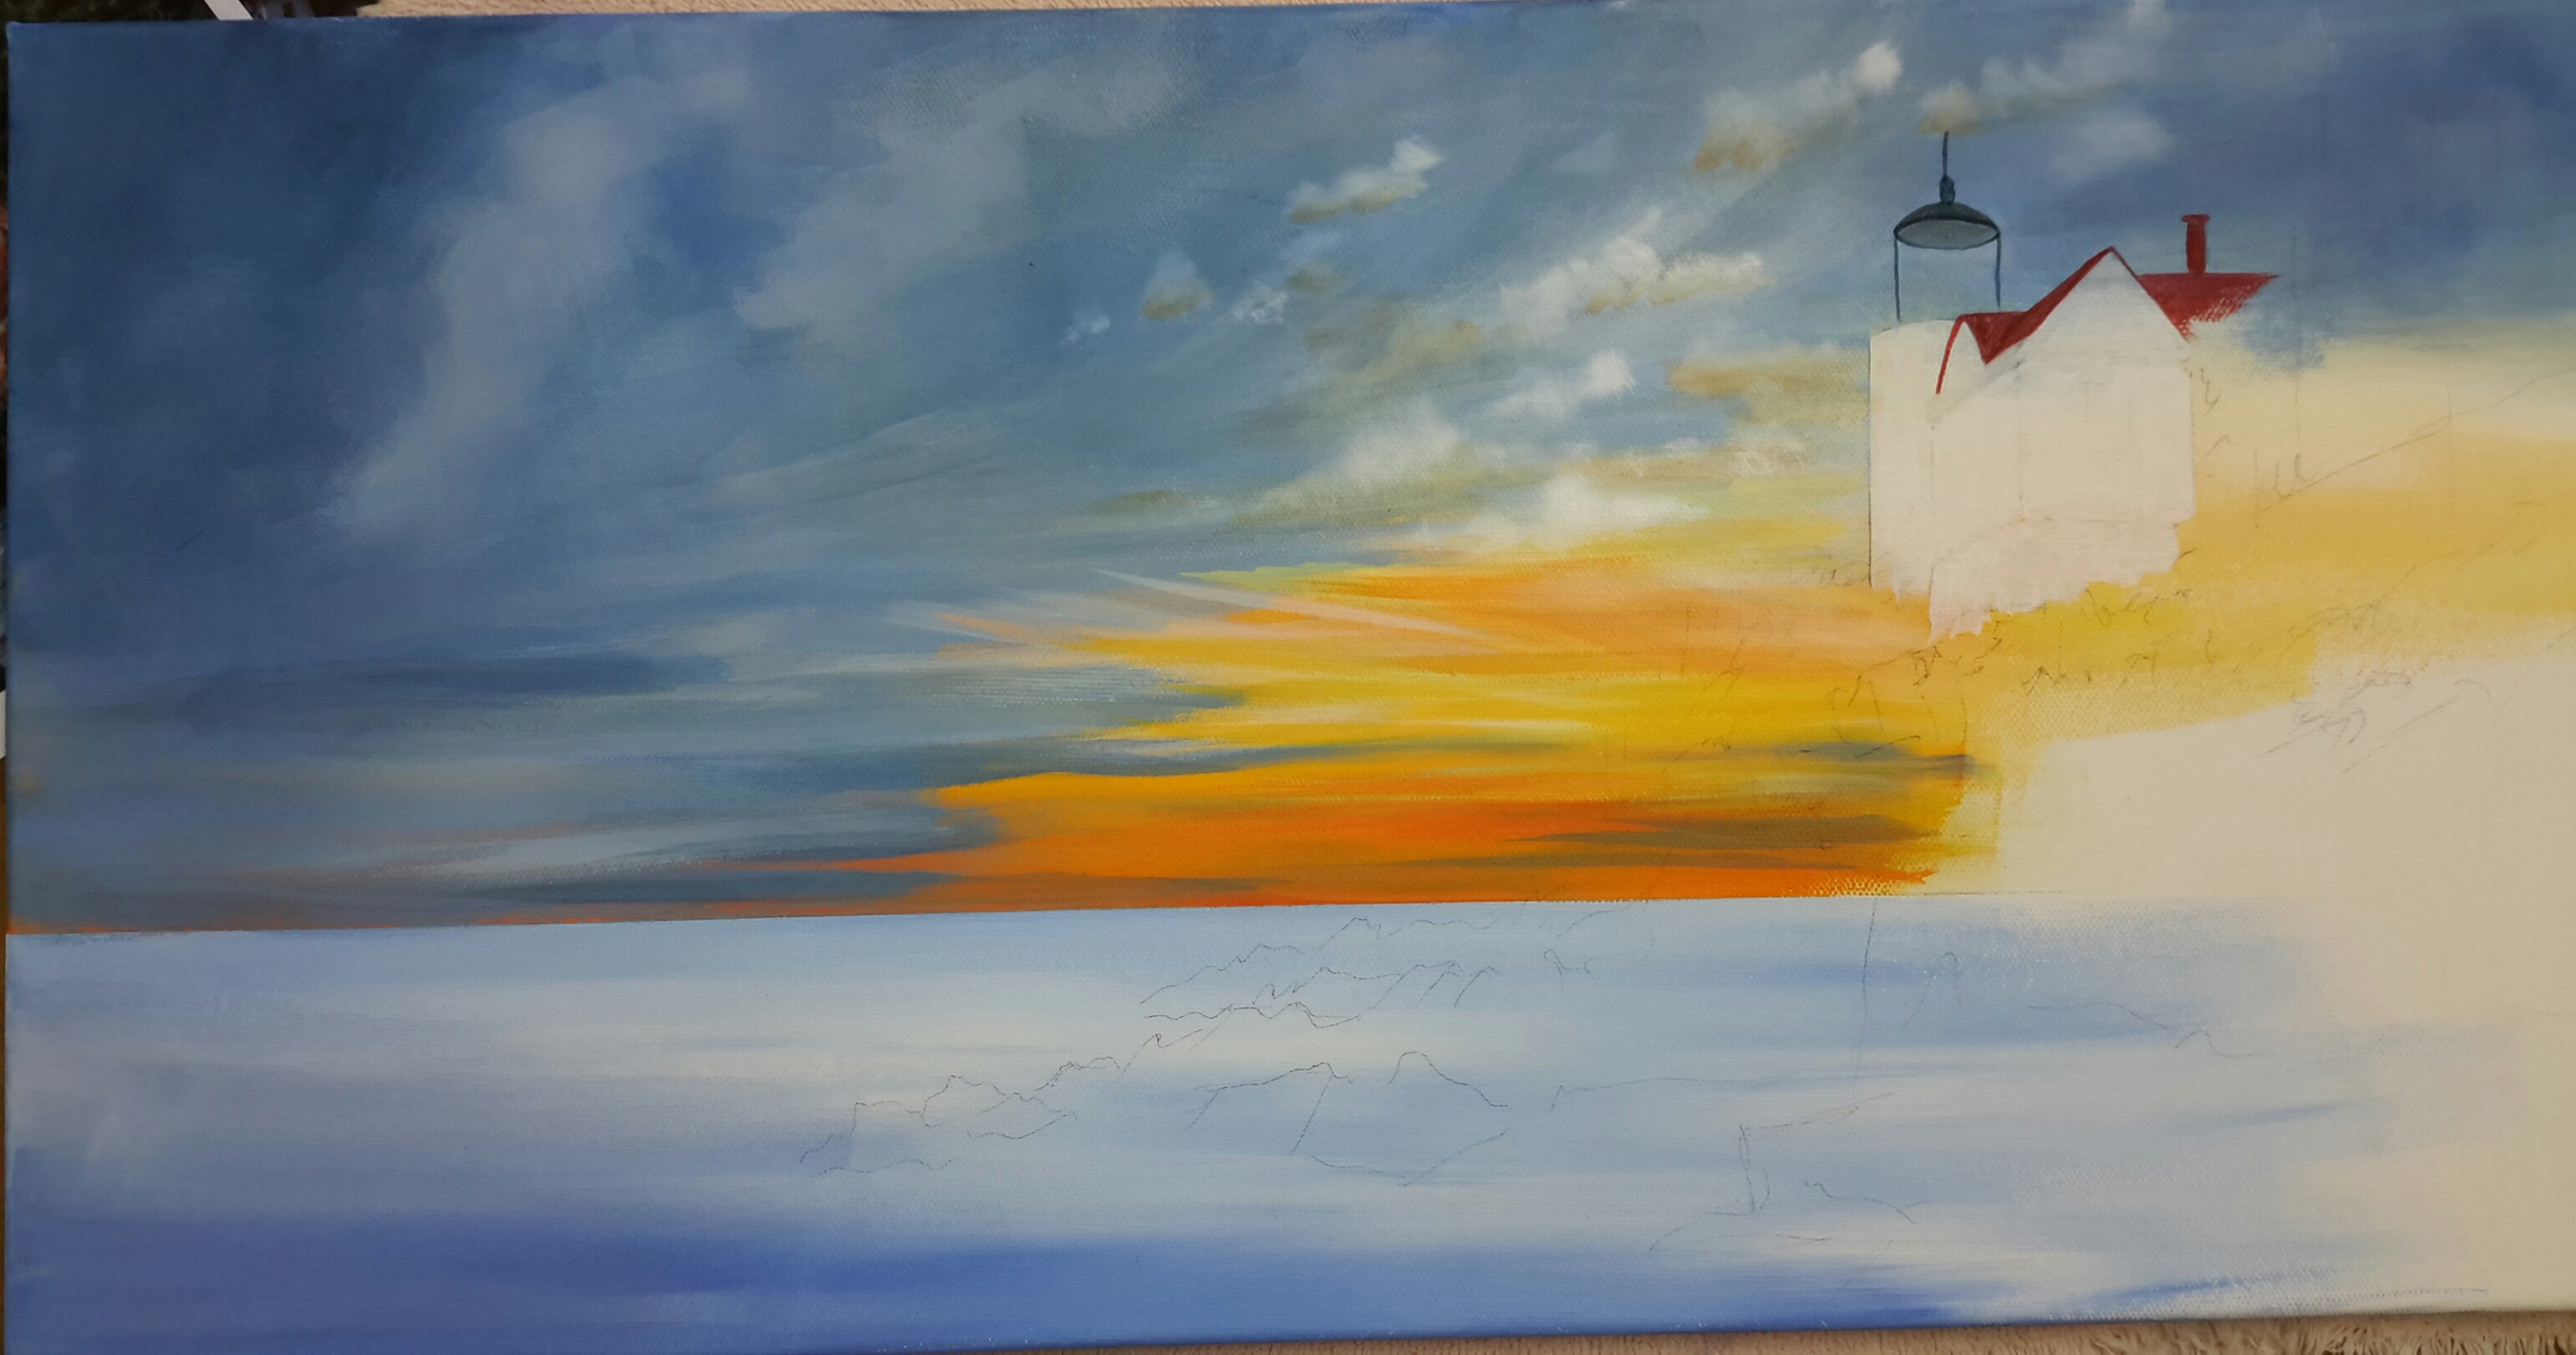
Continuing with the development of the Bass Harbor Light I realized that I was pulling the attention to the left of the painting with all the detailed clouds in that area. I began by neutralizing the left sky by slip slapping in dark values, bringing the darks across the sky toward the right, and lowering the blues toward the horizon. In this way I directed attention toward the sky near the light house.
I had already added the water, lighter toward the horizon and darker toward the bottom of the design.
I based the light house with white for placement and continued to develop the sky, adding light clouds near the light house. I also added darker cloud details in the sunset and adjusted the intensity of the oranges and yellows. Then darkened the lower water area.
Now the more detailed clouds and sunset helped pull attention to my center of interest.
The sky was really key to developing my center of attention and creating the drama of this design.

Bass Harbor Light: Step 3
I’ll be back to show you about the buildings and greenery. Watch out rocks! Here we come.
My local classes are in the midst of painting this design but I have scheduled a Saturday class for those who can’t come during the week on April 7, 9a-5p. Register now to join us.